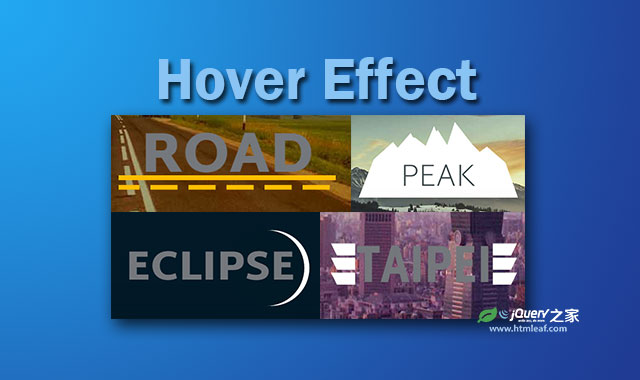
这是一组非常有创意的配合场景使用的CSS3鼠标滑过文字动画特效。这组鼠标滑过特效中,以20张不同的图片作为不同的场景,例如图片是一条公路,鼠标滑过这上面的文字时,就会在文字下边出现一条公路的动画效果。
这20种不同的鼠标滑过效果使用了许多新的CSS3特性,不是所有的浏览器都支持这些效果,建议使用Chrome浏览器来查看DEMO演示。

制作方法
第一种鼠标滑过效果是最简单的效果。它的背景图片是一台照相机,在鼠标滑过时,文字的右上角和左下角会出现两个直角边框,模拟摄影机镜头的效果。
HTML结构
第一种效果的HTML结构非常简单:使用一个<section>元素来包裹一个超链接元素,超链接中的文本是要制作鼠标滑过效果的文字。
<section class="p10">
  <a href="">camera</a>
</section>
CSS样式
第一种鼠标滑过效果的CSS样式中,首先为段落<section>元素添加一个背景图片。
section.p10 {
  background-image: url("http://i.imgur.com/N6vLwJR.jpg");
}
然后<a>元素设置固定的宽度和高度,并使用绝对定位来居中对齐。
section.p10 a {
  width: 353px;
  height: 94px;
  line-height: 94px;
  position: absolute;
  top: 50%;
  left: 50%;
  margin-left: -176.5px;
  margin-top: -47px;
}
接着使用<a>元素的:before和:after伪元素来制作镜头的直角边框。并设置过渡动画效果。
section.p10 a:before, section.p10 a:after {
  content: '';
  position: absolute;
  width: 40px;
  height: 40px;
  border-color: #FF0000;
  border-style: solid;
  border-width: 0;
  transition: all 0.5s cubic-bezier(1, 0.2, 0.26, 0.7);
  transform: translate(0px, 0px) scale(0.8);
  opacity: 0;
}
section.p10 a:before {
  left: 0;
  bottom: 0;
  border-bottom-width: 1px;
  border-left-width: 1px;
}
section.p10 a:after {
  top: 0;
  right: 0;
  border-top-width: 1px;
  border-right-width: 1px;
}
最后在鼠标滑过<a>元素时使用translate()函数来将两个直角边框移动到相应的位置上。
section.p10 a:hover:before, section.p10 a:hover:after {
  transition: all 2s cubic-bezier(0.14, 1.13, 0, 0.91);
  opacity: 1;
}
section.p10 a:hover:before {
  transform: translate(-30px, 20px) scale(1);
  border-bottom-width: 12px;
  border-left-width: 12px;
}
section.p10 a:hover:after {
  transform: translate(30px, -20px) scale(1);
  border-top-width: 12px;
  border-right-width: 12px;
}
其它效果的实现代码请参考下载文件。

